 Bobbin
Quick answer
Zoom VS Code in (View > Appearance > Zoom In) so the code is readable at 1080p. Turn on Developer: Toggle Screencast Mode from the Command Palette to show your keystrokes. Close files and terminals that show secrets. Then, in Bobbin, choose Start recording and pick the VS Code window in Chrome's picker, with webcam bubble and mic on.
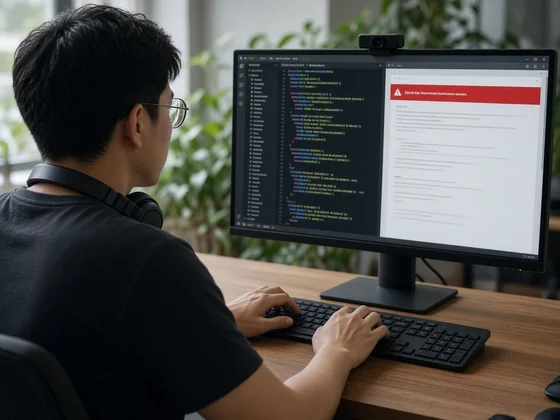
1. Make the code readable on video
- Zoom in. Use View > Appearance > Zoom In (Ctrl+= on Windows and Linux). Each step is 20 percent; Ctrl+- zooms out and Ctrl+Numpad0 resets. Zoom until a line of code is easy to read in a small preview of the window.
- Hide clutter. View: Toggle Zen Mode (Ctrl+K Z; ⌘+K Z on Mac) hides everything except the editor. It also switches VS Code to full screen; if you'd rather keep a normal window, turn off the
zenMode.fullScreensetting. Press Esc twice to leave. - Show your keystrokes. Open the Command Palette (Ctrl+Shift+P) and run Developer: Toggle Screencast Mode. VS Code then highlights the cursor position and shows the keys you press. Run it again to turn it off.
2. Check for secrets first
With Screencast Mode on, VS Code shows what you type on screen, including anything typed into a terminal. Before you record, close .env files, terminals with tokens in their history and any tab showing customer data. A local recording never leaves your computer until you share it, but the person you send it to sees everything in the frame.
3. Record the VS Code window
- Click the Bobbin icon in Chrome's toolbar and choose Start recording.
- Tick Microphone if you want to narrate. Tick Webcam if you want your face in the corner (the bubble is drawn into tab, window and screen recordings).
- Press Start and pick what to share in Chrome's picker. After the 3-second countdown, show the problem. Pause with Alt+Shift+U; stop with Alt+Shift+S.
- Press Download. You get an MP4 where Chrome supports it (Chrome 126 or newer) and WebM otherwise.
In Chrome's picker, choose the Window option and pick VS Code (or record your whole screen). Tab, window and screen recordings all include the webcam bubble; with Pro, move it to a corner where it doesn't cover code. Free: no account, no watermark, no time limit, up to 1080p at 30 fps.
4. A walkthrough structure that works
- The one-sentence purpose of the code you're about to show.
- Where it starts: the entry point, route or function a request first hits.
- The path through it: follow one real case end to end, with Go to Definition rather than scrolling.
- The tricky part: the decision a reviewer or new teammate would otherwise ask about.
- What's next: open questions, TODOs or where to start changing it.
Keep each recording to one topic; several five-minute videos are easier to find and re-watch than one long one. Pause with Alt+Shift+U while you open the next file. Walking through a change rather than existing code? See how to record a pull request walkthrough.
5. Share it
Bobbin saves an MP4 (WebM in older Chrome) on your computer. At roughly 4–4.5 MB a minute for normal screen content, a five-minute walkthrough is about 20–25 MB: too big for a free-plan GitHub comment (10 MB) but fine for paid plans (100 MB) or your own storage. See how to attach a recording to a GitHub issue and how to share a large screen recording. Bobbin doesn't host videos or make share links, and it has no editing, transcripts, comments, viewer analytics, team workspace or mobile app.
Checked on 31 October 2026 from their own pages: VS Code docs: Accessibility (Zoom) · VS Code docs: User interface (Zen mode) · VS Code 1.31 release notes (Screencast Mode). Limits and plans change; check the linked page before you rely on it.